How to Cut and Bake Cookies

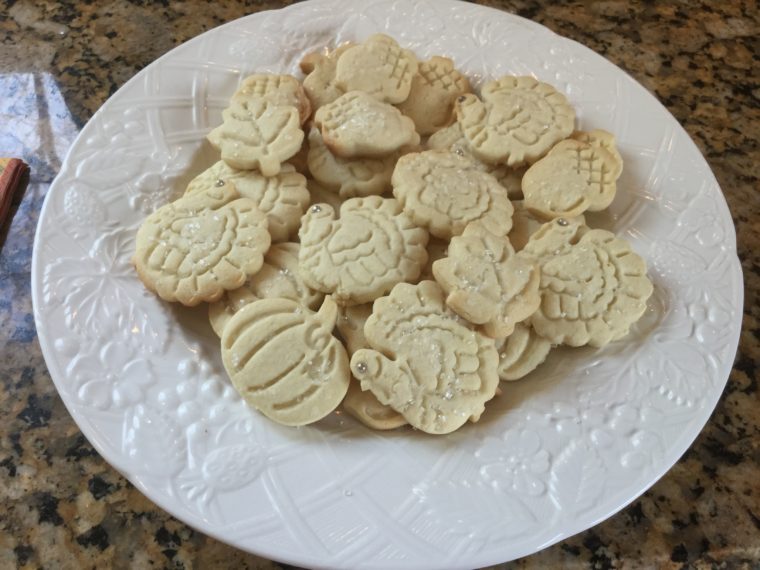
Sugar cookie dough is very versatile and can be cut in various shapes to celebrate any holiday or season. In this post, I’ve included pictures of cookies from two different holidays. Both times I used sparkling sugar, which is a a quick way to decorate if you don’t have the time to decorate the cookies with royal icing.
When I first learned to make sugar cookies, I was instructed to roll cookie dough between two sheets of parchment paper. Then cut out the cookies making sure to leave sufficient space between the cookies so that they would not fuse while baking.
There are a few problems with this method.
First, it’s not easy to roll cookie dough between two sheets of parchment, as it wants to move around. So I would wind up leaning up against the countertop to trap the parchment between the countertop and myself so that it would not move.
Second, once you roll out the dough, the thickness is never even throughout. You will find that it is slightly thicker in the center than towards the edges. The you roll more to correct for this, the corresponding friction creates heat that results in more butter melting and this makes the dough oily.
Third, you end up spending so much time rolling and re-rolling scraps.
For these reasons, I switched the way I cut out cookies. Here is my own method. It will save you time and have your cookies looking much more consistent and professional.
Method:
- Position a rack in the center of the oven.
- Preheat the oven to 375F.
- Line a cookie sheet with parchment paper. I find pre-cut parchment the best choice.
- Start with well chilled cookie dough.
- Take out the cookie dough from the refrigerator and unwrap the plastic wrap.
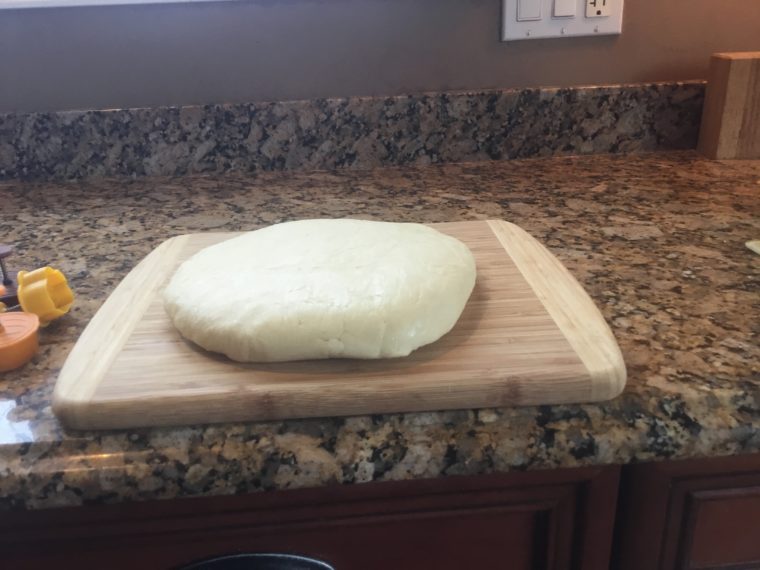
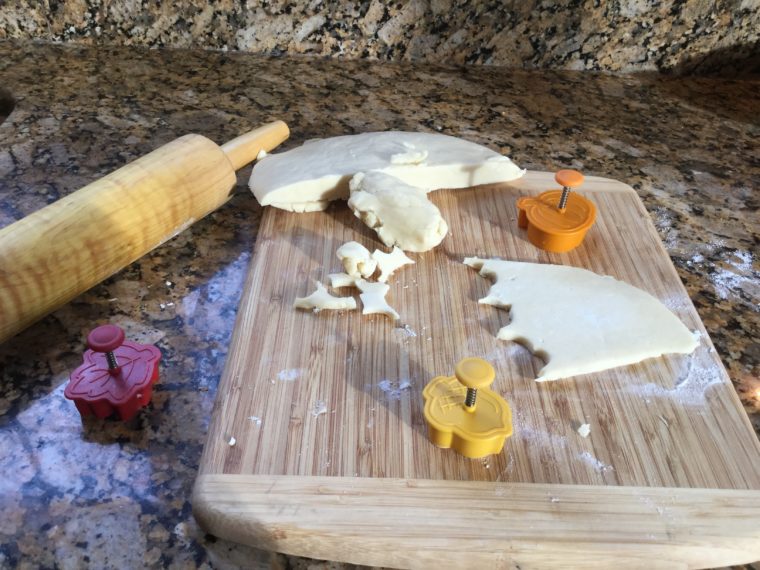
- Use a sharp knife with a long blade to slice the dough into ¼ inch thick slices.
- Work with one slice at a time while keeping the rest of the dough refrigerated.
- Lay the slice on a floured board and roll slightly to smoothen. Roll to adjust for any unevenness in thickness.
- Cut out the cookies. If using a cookie cutter than supports impressions (like the one shown in the picture), first cut the cookie and then, without moving position, press down firmly to make the impression. Be sure to always start with a clean cookie cutter otherwise the impression will not work well. If needed, use a skewer to clean any leftover bits of dough that get stuck to the design. Working with well chilled dough will minimize this issue.
- Cut each cookie, transferring it to the lined cookie sheet.
- While cutting the dough, there are two things to keep in mind. First, you don’t need to leave any space between the cut outs. Second, try to maximize the number of cookies you get so that you can minimize your time in the kitchen. So here, work with the different shapes you are using to figure out how you can best utilize the dough.
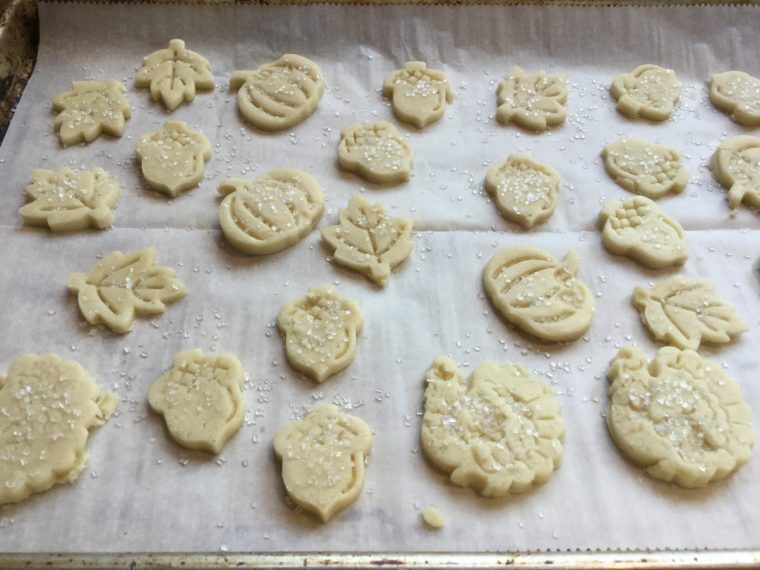
- When you transfer the cutouts to the lined cookie sheet, you will want to set them apart at least an inch. This is because, cookies contain butter which melts and causes them to spread while they are baking. Keeping them sufficiently apart will prevent them from fusing together while they bake. At this stage, you can also sprinkle with sparkling sugar if you want to keep it simple and not decorate with icing.
- Bake for 8-10 minutes until light golden around the edges.
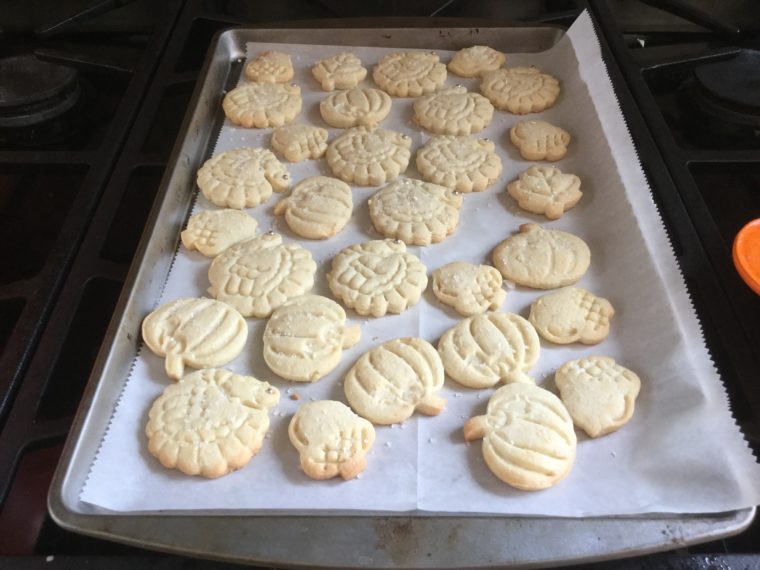
- Remove the cookie sheet from the oven.
- Using a metal spatula, lift the cookies and place on a cooking rack.
- Allow the cookies to cool completely.
- Serve or store in a container with a tight lid.