How to Carve a Jack-O-Lantern Pumpkin

Make your next Jack-O-Lantern pumpkin with these easy to follow steps.
Watch on YouTube and follow along detailed step-by-step instructions below.
Method:
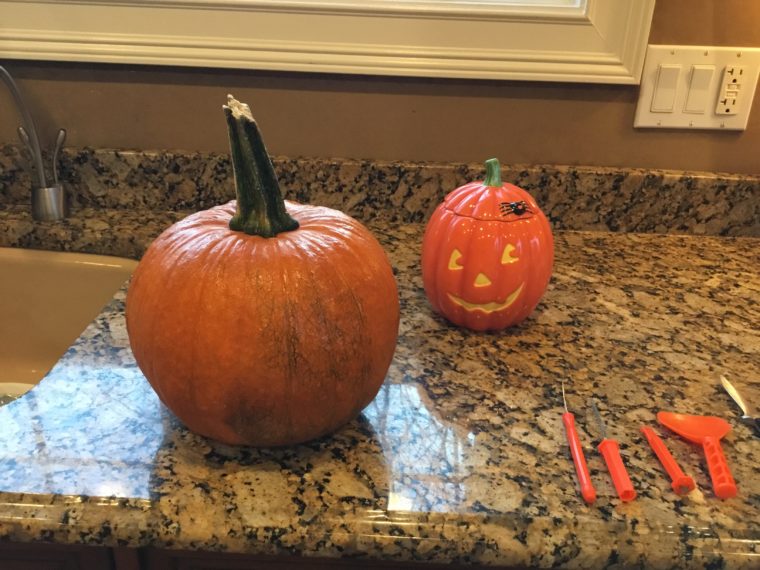
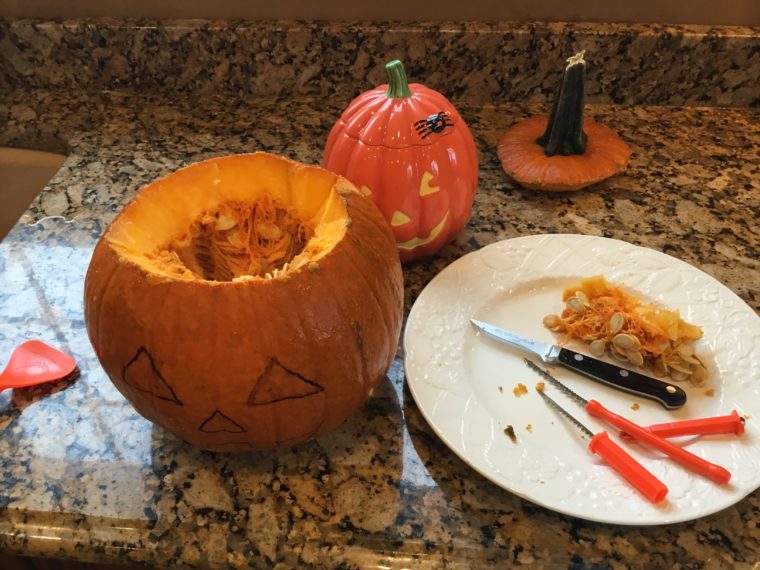
- Start with a clean dry pumpkin, washing and scrubbing if necessary, to remove all the dirt. Having the right tools is key. I prefer to use pumpkin cutting tools that are available at most craft or Halloween stores. In particular, I like the small serrated tool to cut out the lid and face and the scooper for the inside. If you don’t have either, use a small paring knife and a steel spoon.
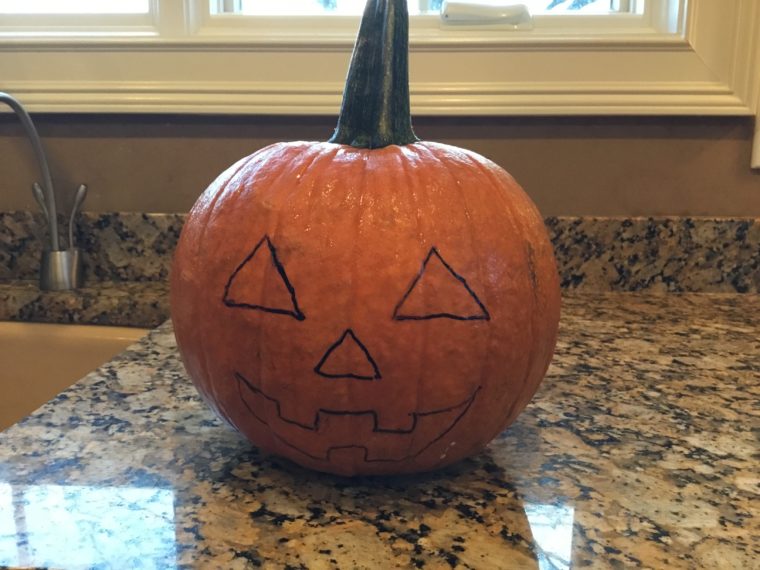
- Next use a marker to draw the face
- Then mark a circle around the top with a notch on the opposite site of the face. Make the opening big enough to reach in with your hand and scoop out all the seeds.
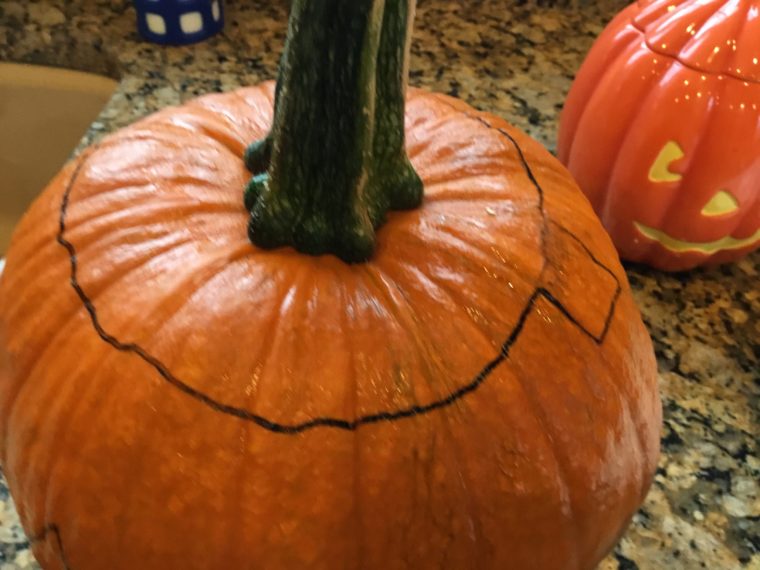
- When cutting, angle the blade inward. This will prevent the lid from falling in once you place it back on top.
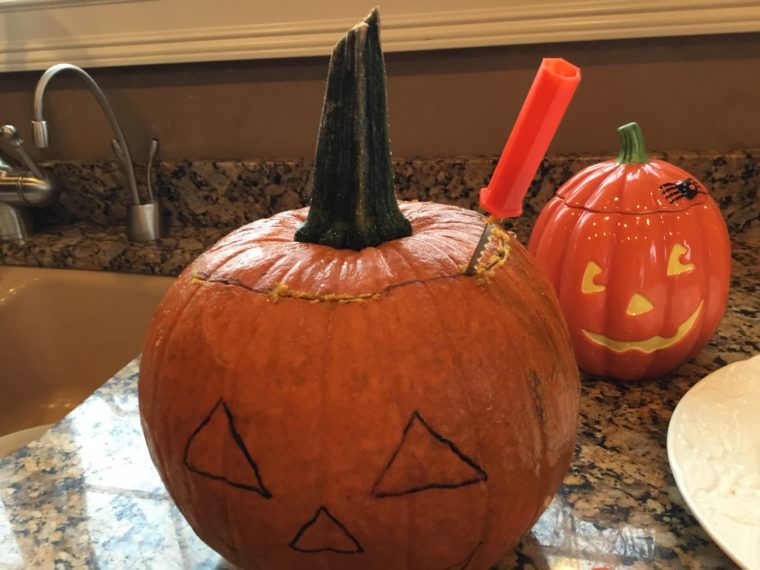
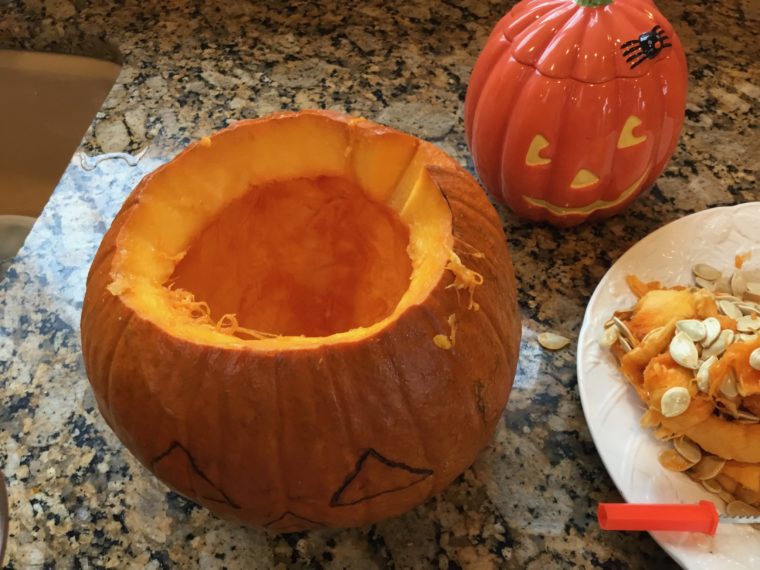
- Open the top first and place on a plate.
- Scoop out the pulp and seeds from the inside with a pumpkin scooper, getting behind the membrane for best results.

- Reach in with your hand and pull out all the pumpkin membranes and seeds. Make sure no strings and seeds remain.
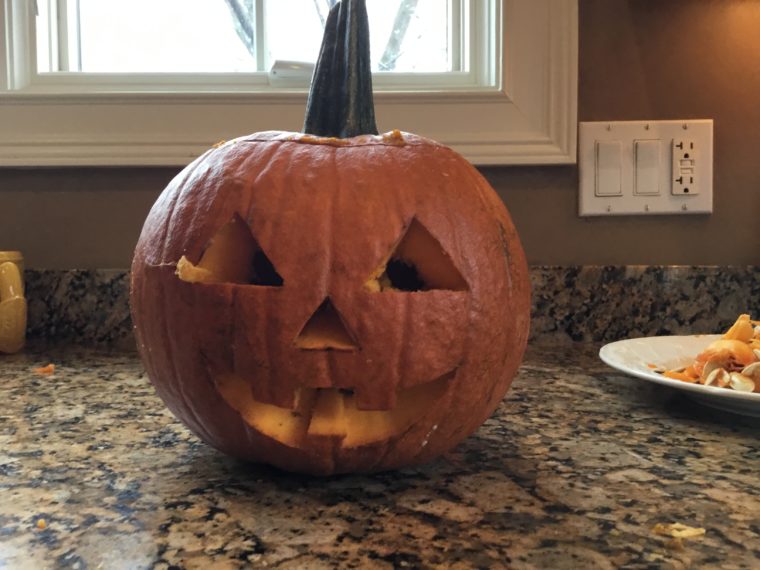
- Wipe the outside of the pumpkin again if necessary to make sure it is not wet or slippery before cutting out of the face, using the small serrated tool.
- Place a candle traditional wick candle or preferably a flameless candle in the bottom of the pumpkin. If you are using a traditional wick candle light it after it has been put in position. Use a skewer to do this safely.
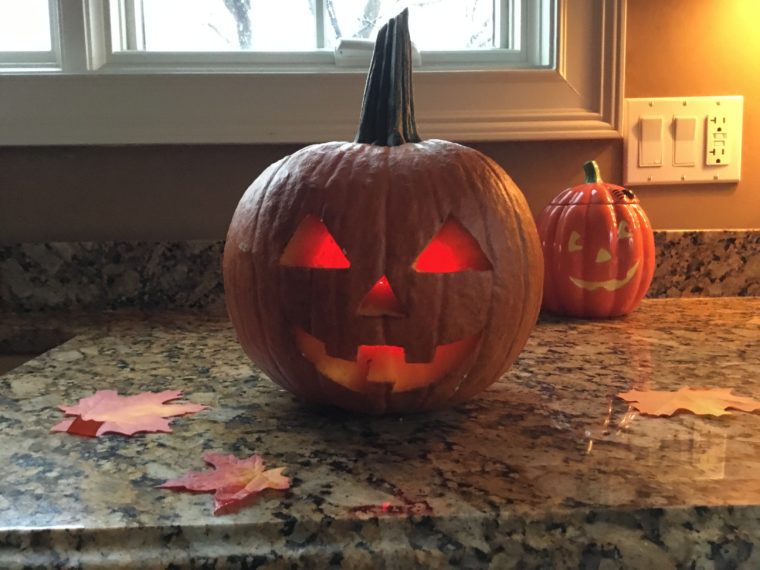
- Place your Jack-O-Lantern pumpkin in a dark place to enjoy.
- Note: You can roast the pumpkin seeds on a cookie sheet at 350F for 15 minutes until very light golden brown and enjoy as a snack.