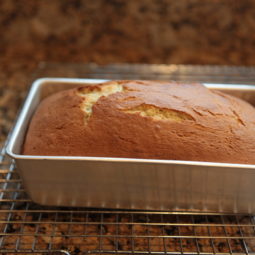
Banana Bread
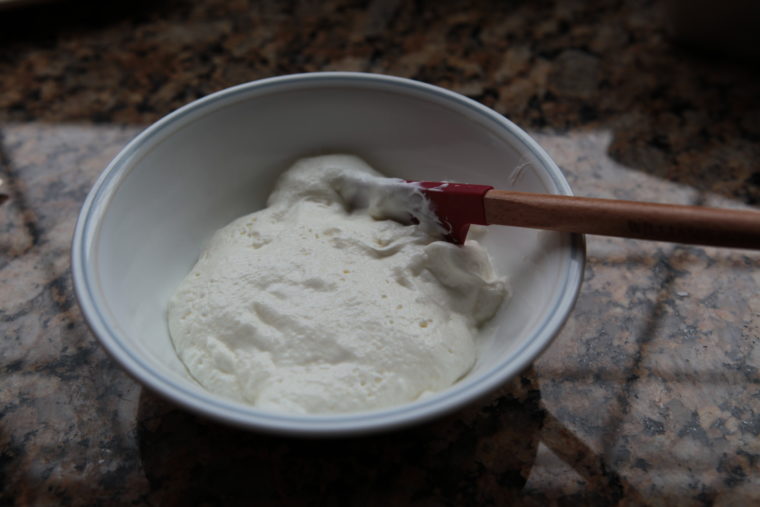
This recipe uses a few key ingredients that work together to deliver exceptional results. The sour cream gives the banana bread more moisture and flavor, so for best results I do not recommend using low fat sour cream. The baking soda is another ingredient that creates a fluffier end product. You’ll see this ingredient in action when you sprinkle it on top of the sour cream and let it sit for a few minutes. The reaction between the ingredients creates an airy product.
Last but not least, use ripe bananas. Ripe bananas have higher sugar content and lend a natural sweetness to the banana bread that you simply won’t get when you use bananas that aren’t ripe.
You will know when the bananas are ripe when they start to develop brown spots on their skin. The skin can get fairly brown but as long as the bananas are still firm and have not started to become mushy, they are fine to use.
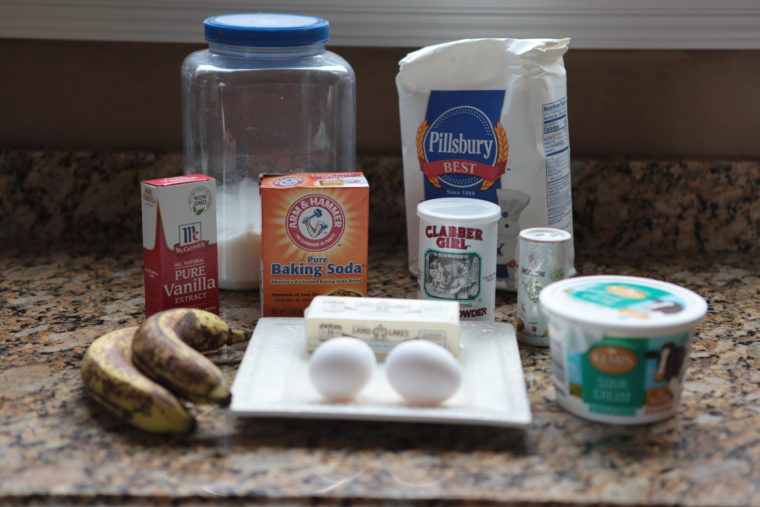
What You’ll Need to Make Banana Bread
How to Make Banana Bread
Preheat the oven to 350F with a rack positioned in the middle of the oven.
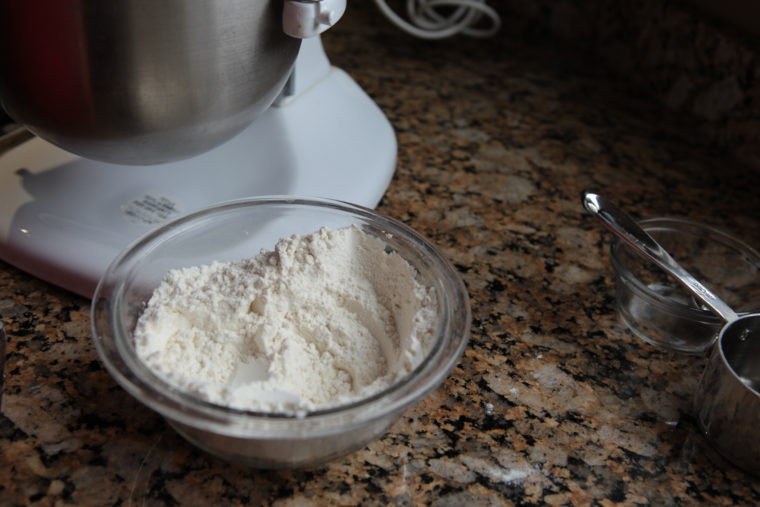
In a medium bowl, put the flour, baking powder and salt.
Scoop a half cup of sour cream into a small bowl and sprinkle one teaspoon of baking soda on top.
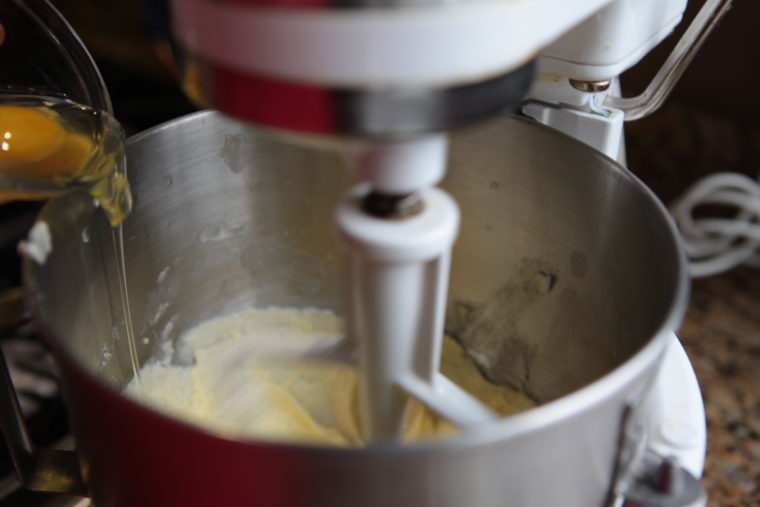
Place the sugar and the butter into an electric stand mixer fitted with a paddle attachment. Use the remaining butter from the wrapping to grease the loaf pan. I find that it is sufficient but make sure that you have complete coverage in terms of greasing the entire inside of the pan. If you do not, use more butter or the banana bread will stick.
Cream the butter and sugar together until smooth and creamy. Then add the eggs, one at a time, until completely incorporated before adding the next. Add the sour cream with baking soda. Then add the vanilla.
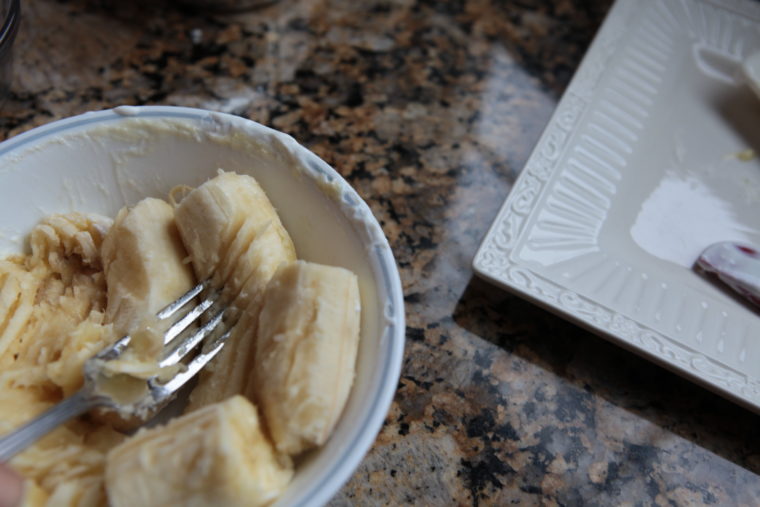
Peel and mash the bananas with a fork.
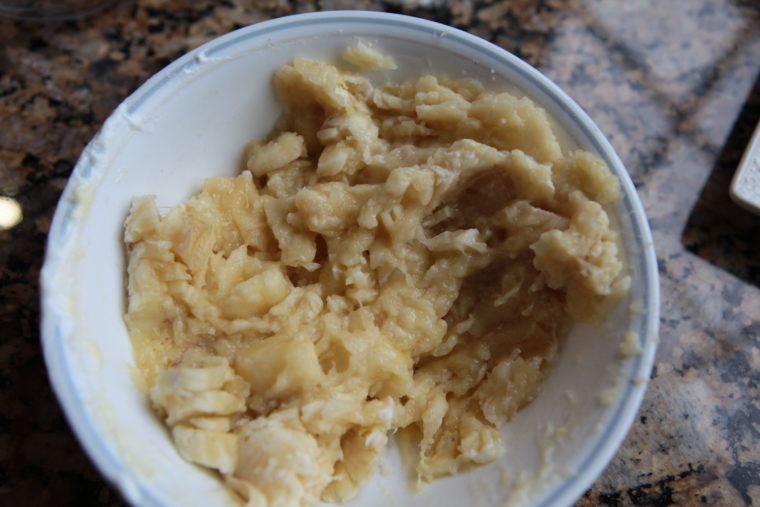
Continue to mash until the bananas look like this.
Add the flour one heaped tablespoon of flour at a time to the mixture, until it is fully incorporated before adding the next tablespoon of flour. Continue until all the flour is added to the mixture.
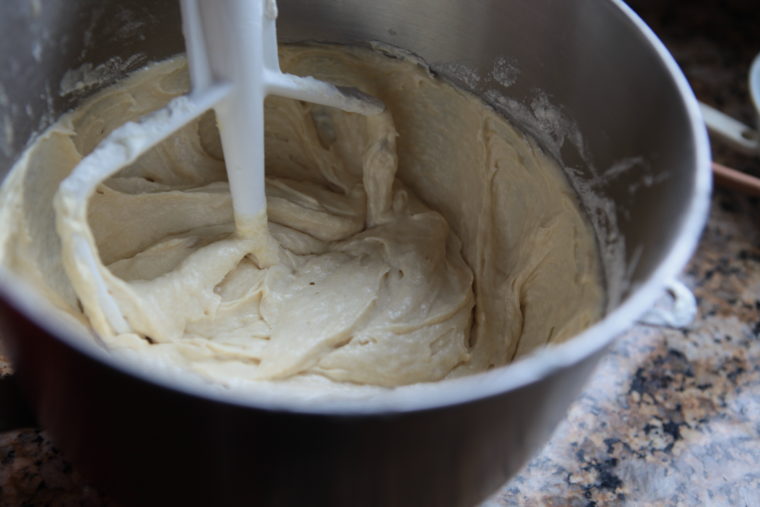
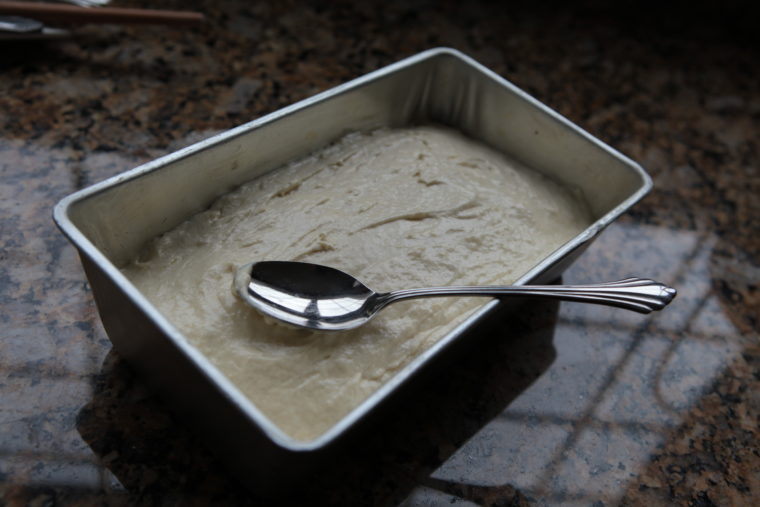
Pour the mixture into the greased pan and bake at 350F for about 50 minutes or until a skewer inserted into the middle of the bread, comes out clean.
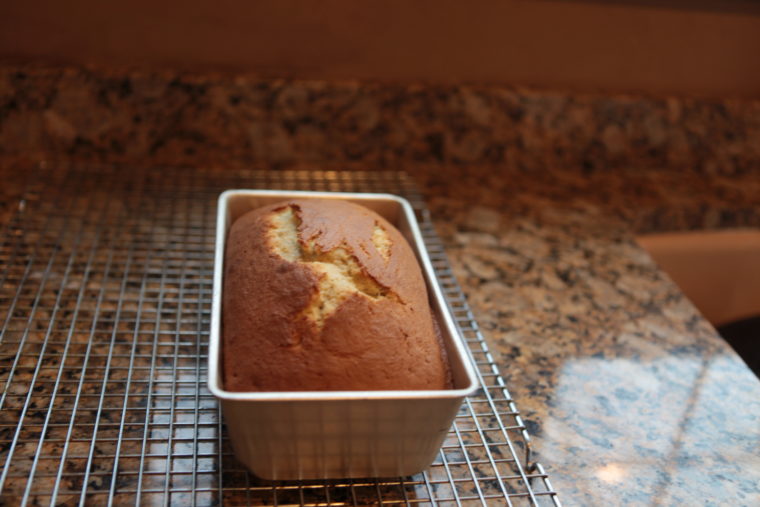
Remove the banana bread from the oven and allow it to cool in the pan on a wire rack
Once it is cool enough to handle, carefully slide a butter knife to release the banana bread from the pan. Invert onto wire rack and place right side up and allow to cool completely.
Ingredients
- 1 cup sugar
- 1/2 cup unsalted butter
- 2 eggs
- 1/2 cup sour cream
- 1 tsp baking soda
- 1 tsp pure vanilla essence
- 2 ripe bananas
- 2 cups all-purpose flour
- 1 tsp baking powder
- 1/8 tsp salt
Instructions
- Preheat the oven to 350F with a rack positioned in the center of the oven.
- In a medium bowl, put the flour, baking powder and salt.
- Scoop a half cup of sour cream into a small bowl and sprinkle one teaspoon of baking soda to it.
- Place the sugar and the butter into an electric stand mixer fitted with a paddle attachment. Use the remaining butter from the wrapping to grease the loaf pan. I find that it is sufficient but make sure that you have complete coverage in terms of greasing the entire inside of the pan. If you do not, use more butter or the banana bread will stick.
- Cream the butter and sugar together until smooth and creamy. Then add the eggs, one at a time, until completely incorporated before adding the next. Add the sour cream with baking soda. Then add the vanilla.
- Peel and mash the bananas and add to the mixture.
- Add the flour one heaped tablespoon of flour at a time to the mixture, until it is fully incorporated before adding the next tablespoon of flour. Continue until all the flour is added to the mixture.
- Pour the mixture into the greased pan and bake at 350F for about 50 minutes or until a skewer inserted into the middle of the bread, comes out clean.
- Remove the banana bread from the oven and allow it to cool in the pan on a wire rack.
- Once it is cool enough to handle, carefully slide a butter knife to release the banana bread from the pan. Invert onto wire rack and place right side up and allow to cool completely.
Nutrition Information Disclaimer
Ginny’s Recipe Collection provides nutritional breakdowns for informational purposes only. The data on this site has not been evaluated and approved by the Food and Drug Administration (FDA). The data is calculated using an online 3rd party nutritional calculator. Therefore these figures should be considered as estimates only. Online calculators may yield different results based on their own nutritional fact databases and algorithms they use. Furthermore, varying factors such as product types, adjustment of seasonings, natural variation in produce, and the manner in which they are processed may affect the final nutritional information. To get the most accurate analysis, please consult a registered dietician.
© Ginny's Recipe Collection


